

")
")
")

Let’s explore how mix prep can speed up your mixing process. Here’s how you can get your song ready for mixing.
Mixing music is so cool that it is tempting to dive straight in and ride those faders, sculpt your signature tones, and slam that loudness limiter – it will be okay, right?
Well, maybe, but the smoother the mixing process is, the freer and more creative your mind will be.
For this reason, many mix engineers perform a ‘pre-mix’ flight to tidy up each track in preparation for the mix proper. Mix prep includes correcting any problems before they break the flow of magic in the mix.
Try it yourself and see how much more enjoyable a mix can be following a ‘pre-mix’ session.
Mix Preparation Step-By-Step Guide
Follow our simple guide below to prepare your tracks for mixing.
1. Correct the timing
The two main reasons why music is perceived as not being professional are poor timing and tuning.
Address timing issues first. Start with the drums and check for any hits that are wrong. Locate any problems and nudge each hit forward or back in time to correct them.
Once the drums are rock-solid, bring in the bass and all subsequent instruments one at a time, checking for loose timing and amending. Locking all musical parts to the drums will give you the tightest result.
However, if you have a huge amount of tracks to process, a compromise is to play the song, listen carefully, and address each bad timing issue that jumps out at you.
Be mindful of the groove of the song, though; there is a difference between unintended loose timing and playing behind the beat to create a laid-back feel, for example.
2. Correct the tuning
Tuning mainly applies to the human voice. If an instrument sounds out of tune, the best solution is to re-record the part.
Vocal tuning is achieved with a plugin. Some plugins work automatically whilst others require manual manipulation of each note. One trick is to place a real-time, automatic tuner first in the effects chain (e.g., Waves Tune), followed by a manual tuning plugin (e.g., Melodyne).
You can find excellent pitch correction tools in our free autotune plugins article.
The real-time tuner automatically shifts notes to the musical key, and you can catch and ‘correct’ notes with the manual tuner. However, you may prefer to use one plugin, such as Melodyne.
Vocal tuning is very much a personal matter, and how much you tune is up to you. Some artists would never want their vocals tuned, whilst others rely on the ‘Cher – Believe’ autotune effect for their sound.
If you are shooting for natural tuning, only tune as much as is needed. Ask yourself this – Can I hear the vocal tuning working? Listen carefully. If you can hear tuning artifacts, do not move on until they have been smoothed out.
3. Noise removal – remove unwanted noise
Now is the time to clean up all the unwanted hiss, clicks, glitches, etc.
Assuming you have a manageable number of tracks, play through each one and cut out any unwanted artifacts. Pay special attention to the start and end of a performance and any point where the instrument is not playing.
A noise gate might get you there quickly, or you may need manual editing. If so, split the audio around the problem and delete the glitch or lower the gain if taking away the audio leaves an unnatural silence.
Again, vocals require special attention. Many producers do not like any vocal noise between words, but sometimes a certain intake of breath can add emotional expression.
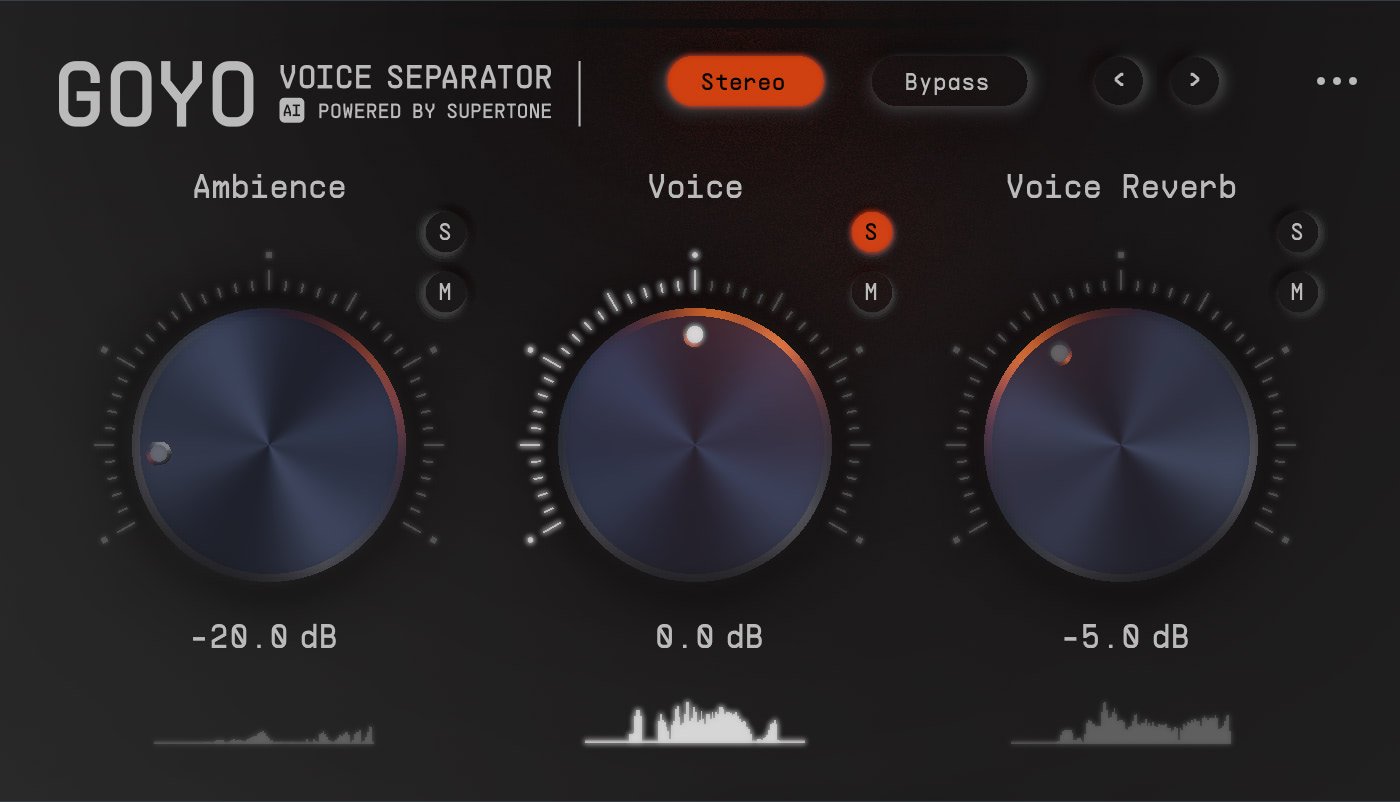
There’s a free AI-powered noise removal tool called GOYO Voice Separator. It is excellent for removing unwanted noise from vocals.
It is usually obvious whether to keep or delete. If the singer sounds like they are grasping for breath after being held underwater, this is not a desirable musical element – unless the song is called ‘Drowning’!
I recommend you cut each unwanted vocal noise manually.
It is possible to become really quick at this to the extent that you can cut breath noises as the vocal track plays in real-time.
Make it fun. How quick can you edit? Treat it like a game, and try to edit out all the breaths as you stay ahead of the play cursor!
4. Fine-tune the dynamics
Instruments played live have a performance velocity curve along their timeline. You can see this by zooming out a waveform to fill the VDU screen.
Observe how the recorded level rises and falls as the performer performs. Depending on the style of music, these dynamics (the difference between loud and quiet) may be too exaggerated or not exaggerated enough.
Now is the time to manually close or expand the gap between levels. Simply view the waveform as a whole and split the audio where the level is too loud or too quiet and clip gain up or down. It is important not to close the gap too much and edit the life out of the performance.
The goal is to make the expressive performance more controlled, not to kill it! More control over dynamics will help any future compression in the mix be more transparent.
5. Bounce MIDI to audio
If you have virtual instruments in MIDI format, consider bouncing them to audio files.
By the time you come to mix, all songwriting decisions should be set in stone. Bouncing MIDI to audio removes thoughts of changing patches or tinkering with filters during a mix. The mix is the time for mixing – nothing else.
6. Fill the audio spectrum and check the arrangement
Double check that you have enough material to complete a mix and that all the spectrum frequencies are represented.
This sounds obvious, but all too often, an artist will try and mix an ‘idea’ composed of a few parts and struggle to deliver emotion because they simply have an idea, not a full arrangement.
Go to a mix with too much content. It is easy to delete a part from an arrangement but much more difficult to create new sounds and ideas.
So if you have any last-minute ideas, sketch them out now, and throw everything in there!
7. Equalization – corrective and creative
Equalisation is often classed as corrective or creative; corrective EQ takes away the bad, and creative EQ accentuates the good.
So think carefully about your musical tones. Have you done your best to create space by taking away frequencies that are not helpful whilst enhancing the good?
If you are unsure at this stage, focus only on corrective EQ and leave the creative moves for the mix. Use the ‘find the pain, reduce the gain’ method.
Boost an EQ range by up to 10 db and sweep the frequencies. When you hear the pain reset the level to 0db, wait for a moment for your ears to settle, and then reduce the gain and ask yourself – Does reducing this frequency make the sound better or worse?
Are the bad frequencies now out of the way, allowing the best qualities of the sound to be more pronounced, or is the sound now missing the very frequencies that define it?
If the sound is better, stick with the cut. If the sound is worse, restore the gain to zero.
8. Name the tracks in your mix
Name all your tracks correctly. Whenever you have to think non-musical thoughts during a mix, you break the vibe.
If you are looking down a list of meaningless track names trying to determine what the hell ‘track 10 PDR38’ is, you have broken the moment’s magic.
Do whatever you need to create a list that has meaning to you; color them, label them in a specific order, etc. Do whatever it takes to enable you to know exactly what is playing where so that when the mix is banging, you are jumping to the tune instinctively.
9. Consolidate tracks
Finally, consolidate (also known as ‘bounce’ or ‘export’) each tidied, dynamically balanced, EQ corrected, named track, starting at zero and ending on the final bar of silence. Export these tracks to a new empty ‘sub folder’ of your session.
I label my folder ‘Source Files to Place.’ This keeps the source files separate from all the other clutter created by the mix process, and then, if you need to re-mix or pass on the source files, you know exactly where they are.
10. To export with effects or not?
When exporting, any effects considered part of the sound can be left enabled and embedded within the export file.
Any effects that are secondary to the sound, such as send effects (reverb), can be deleted before exporting, as you will recreate these in the mix anyway.
Mix preparation – conclusion
Mixing should be a super fun, creative way to spend an hour or two. If you follow the above guidelines, you will be amazed at how enjoyable mixing becomes.
It may seem like a lot of work now, but these tasks will soon become good habits. If you fail to prepare professionally, you will be forever fighting each mix, pulling your hair out in frustration as you stop and start to correct each non-musical problem.
Put a little extra work in beforehand to let your mojo flow! And above all else, have fun!
Learn more about how to mix in our guide to mixing music.
If you want to learn more about audio mixing and mastering, please check out my books Audio Mastering in a Project Studio and Template Mixing and Mastering.
Last Updated on September 6, 2024 by Tomislav Zlatic.