

")
")
")

Audio compression is one of the basic building blocks of audio mixing and music production, so learning the details of mixing with a compressor is essential.
Today we will outline tips on how to use a compressor, starting with audio compression basics and moving on to some special uses and considerations.
How does compression work in an audio mix?
An audio compressor decreases the dynamic range of a signal by reducing the volume of louder sounds and increasing the volume of softer sounds.
This makes a compressor a key tool for audio engineers, as it can make recordings and performances sound balanced and punchy. It can also help create the desired color and tone for parts.
However, with great power comes great responsibility. Mixes can easily become lifeless or harsh if compression is used inappropriately, which is a problem that faces many modern recordings.
So today, we’ll address tips on using a compressor in your mix to get the best results.
#1 Use the right tool for the job: Types of audio compressors
There’s four main audio compression types, each with its own sonic characteristics, and you’ll want to use the right tool for the job.
VCA compressors
VCA compressors offer detailed control and predictable results, and they are a good choice when you need fast and transparent compression.
They’re often used to add mix glue and for getting control over and adding punch to sources with aggressive transients like drums and electric guitar.
FET compressors
FET compressors are known for their fast attack and release times and offer similar benefits to VCA compressors.
Their character is bright and present, though they tend to add a bit more color to the sound than VCA comps, particularly when driven hard.
Optical compressors
Optical (opto) compressors are slow-releasing and provide a smooth response, typically with a soft knee, and can vary from transparent or adding color depending on the circuit design.
Optos are associated with vintage sounds and are suited for smooth leveling and, as a result, pair well with vocals, as they flow with the cadences of the performance.
Variable Mu compressors
Variable Mu (vari-mu) compressors use a tube and are often used for adding thickness, punch, and color while retaining warmth. It is one of the oldest compression types and can add a vintage flavor.
They’re often used for mastering, mix glue, and applications where musical compression is needed, like vocals and bass.
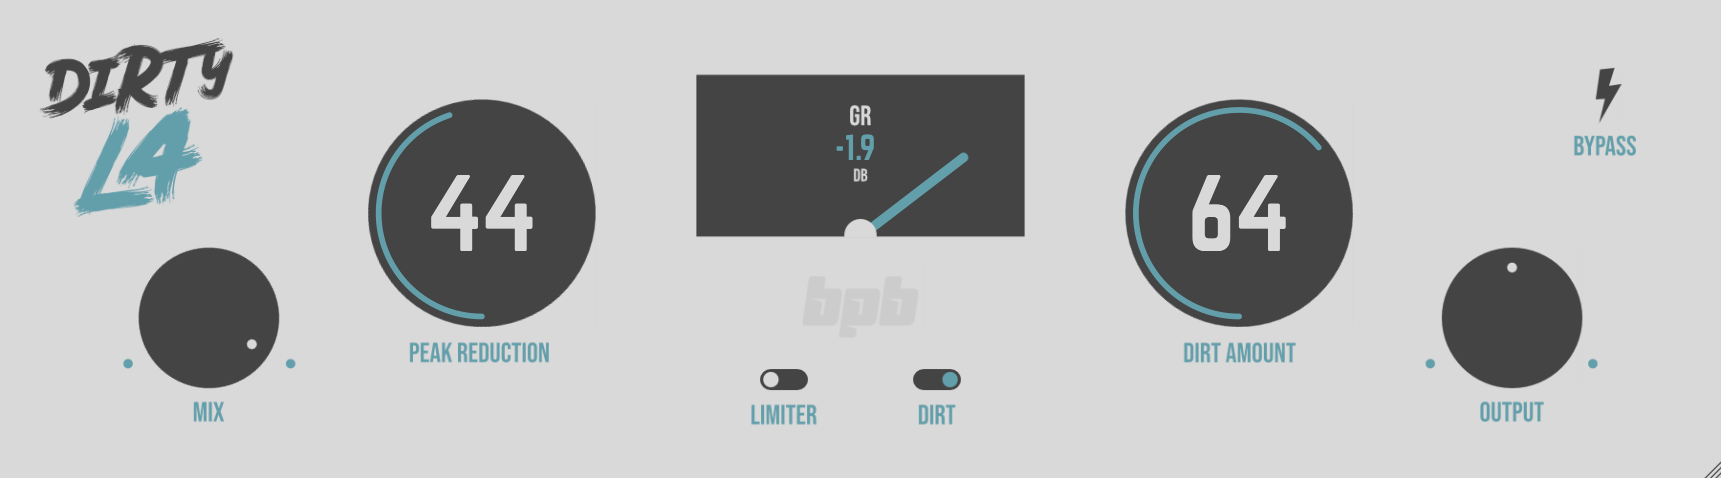
#2 Master the functions of a compressor
We’ll cover the parts of a compressor here so you can get the most out of your knob twiddling.
Threshold
The threshold sets the level that the compressor activates. The lower this is, the more the compressor acts on the signal.
Ratio
The compression ratio determines how much volume reduction occurs once the audio signal passes the threshold. A higher ratio means the compression gets more aggressive.
Attack time
Attack sets how rapidly the compressor goes from inactive to full compression.
A slow attack is good as a thickener and leaves more of the original dynamics at play, while a fast attack can be good for controlling spiky transients, clipping, and overly dynamic performances. If the attack is too fast, the signal may sound overly processed and suck liveliness out of the performance.
Release time
Release time determines how quickly the compressor disengages once the signal goes below the threshold.
Slow release times keep the compressor engaged for longer and thus smooth out the dynamics of a performance even further, although it can take the excitement out of a performance if this is done excessively.
Fast release leaves more dynamics at play and can add grit and aggression to a performance. Fast release times can lead to pumping, where the signal level changes audibly upon the release of the compression, which in some cases may be undesirable.
Knee
The knee parameter determines how aggressively the compression is applied.
A hard knee engages the compressor as soon as the signal passes the threshold, while a soft knee causes the gain reduction to occur more gradually.
Hard knee tames transients quickly and can sound quite aggressive, while soft knee compression is less noticeable and preserves more of the original performance dynamics.
#3 Match input and output gain
Our ears absolutely love loud. When a signal increases in volume, it sounds better to our ears, which can easily trick us during mixing.
So when mixing with compression, match the input and the output gain. You can do this by ensuring the input level meter and output level meter on your compressor are roughly at the same volume.
Then A/B your wet and dry signal to see if the compression is beneficial. When the input and output are matched, then the compressed signal won’t automatically sound better to you by virtue of a volume change (and vice versa).
Once you’ve dialed in your compressor settings, then the gain can be set as required for the mix.
Be aware of the effect of loudness on our ears as well when adjusting compression settings inside the plugin as well (for example when tweaking the threshold and other parameters).
Many compressors have an auto gain setting to try and control this last issue, but they don’t perfectly control the gain, so stay vigilant.
#4 Leave some space for mastering
When mixing with a compressor, keep in mind that when the track goes to mastering, compression will most likely be applied there in one form or another.
So leave some dynamics and space in your mix, because if you completely squash everything, then the mastering engineer will have nothing to work with and will have a harder time getting the final result to sound any good.
Plus it’s just good form to leave some dynamic range anyway to give the track some ups and downs to catch the listener’s ear. Listening to an over-compressed mix can be either dull or fatiguing to the ears and will have your listeners reaching for the skip button pretty quickly.
Read our tutorial about the differences between mixing and mastering for more information.
#5 Don’t rely too heavily on compression
When a performance or capture varies in dynamics too heavily, remember that compression is not the only tool to deal with this.
If the vocalist is moving out of position on the mic and altering the signal, for example, it may be better to coach them and redo the take than just trying to deal with it via compression. You can learn more in our vocal mixing guide.
Likewise, don’t be afraid to get in there and slice and dice the clips and bring up the level of softer parts and bring down the level of louder parts when necessary.
Then your compressor won’t have to work overtime to deal with these issues, which can be detrimental to audio quality.
For more information, return to our Mixing Guide.
Last Updated on April 21, 2023 by Tomislav Zlatic.