

")
")
")

If you’ve read our complete guide to mixing music, here’s a bonus set of quick and actionable mixing tips you can incorporate into your music production workflow.
There is a learning curve that most home studio mix engineers follow.
Essential Mixing Tips For Your Home Studio
It starts with the idea of mixing a song – how cool would that be! And with limited knowledge, the approach is simple; results excite, and the journey continues to more complex combinations of effects, plugins, and routing possibilities.
The intent is always to make the best possible mix. Sometimes, however, the extra complexities and myriad of options can prove to baffle and muddle the mind into inactivity and doubt. The answer is to go back to basics and re-discover the magic that ignited the dream.
So, whether you are starting out your journey or need a ‘back to basics’ reset, here are my ‘keep it simple’ mixing tips for the home studio.
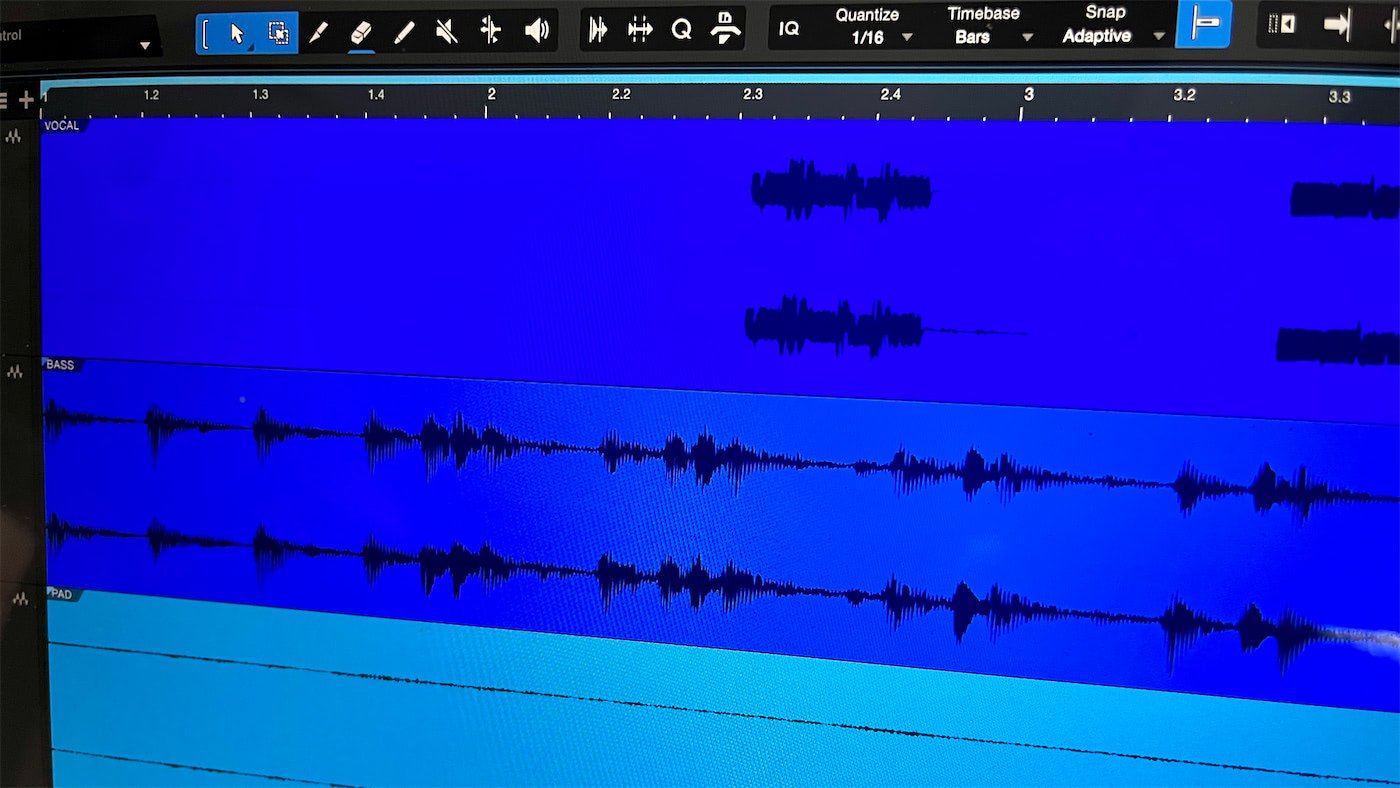
1. Export Tracks to a Mix Session
Performing a mix needs your undivided attention.
To focus the mind, consider exporting all your recorded/programmed tracks and then importing them into a new mix session. The clean audio tracks (bounce MIDI to audio) without any clutter will provide clarity.
Exporting tracks is a necessity if sending your song to a professional mix engineer; they want to receive one audio file per track, each running from the start of the song to the end.
Prepare your tracks as though a pro is mixing your song.
Send them to yourself to experience what it is like for a professional to receive audio tracks to mix – do whatever it takes to make the transition from recording artist to mix engineer.
2. Mix With a Channel Strip Plugin
Limit yourself to mixing with one ‘channel strip’ plugin on each track. This is an essential mixing tip for music producers who are still learning.
Find the channel strip that works for you. They are all different in feel, response, and sound, so demo each one.
An excellent free channel strip is NastyVCS by Variety of Sound. You can also try FrankCS and LOADED by Analog Obsession.
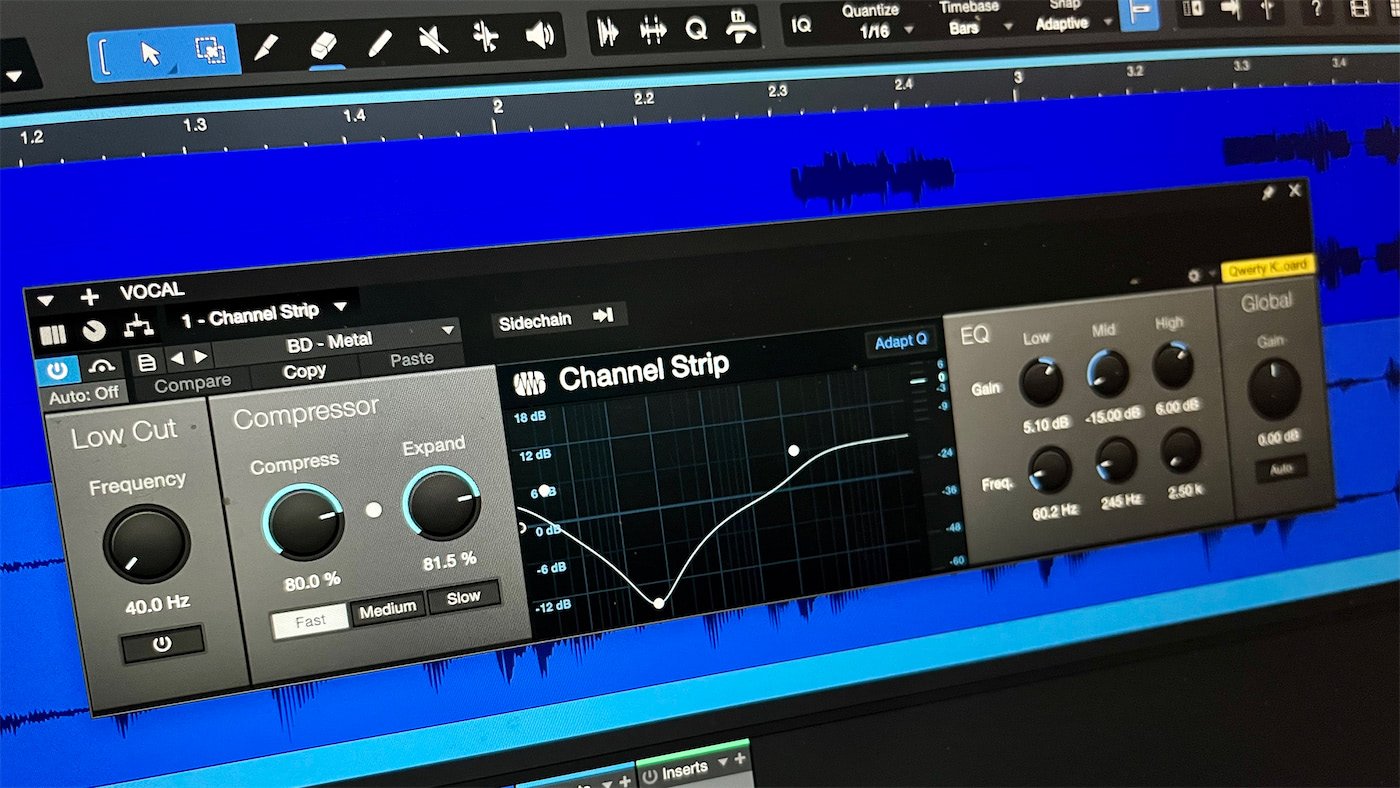
Most channel strip plugins contain all the modules you need to perform a mix, i.e., input and output gain, high and low pass filters, 4-band equalization, compression/expansion, and a gate. Take your time to learn each of the modules totally.
In addition to these basic mixing tools, a reverberation and delay plugin is all you need to mix a song. Keep your VST plugins simple and stick to this minimal setup to focus the ears on what really matters – mixing.
3. Find the Pain, Reduce the Gain
When using equalization, the common technique of raising an EQ band’s gain and sweeping the frequency spectrum until you hear something unpleasant is hard to beat.
Push up the gain to anywhere up to +10db and sweep away until you hear a boosted frequency that makes your body clench and your teeth fizz. Congratulations, you have found the pain (problem frequencies that are harming your sound).
Now reset the EQ gain to zero, let your ears settle for a moment, and reduce the gain to balance the sound.
If you’re looking for a freeware EQ, check out TDR Nova and VOS SlickEQ.
4. Cut the Trash
Similar to the mixing tip above, but in reverse.
Every sound has beauty within it waiting to emerge, and every raw sound has unwanted trash attached. Try and differentiate between the good and the bad within a sound.
Don’s simply focus on good or bad frequencies as above but listen carefully to the whole make-up of each instrument.

The job of the mix engineer is to harness beauty, focus the sound, and sculpt it into one that excites.
In short, this mixing tip can be summarized as ‘cut the trash.’
Trash is often found in low-level noise or unwanted frequencies that are not part of the beauty. In addition to the EQ technique above, try using a gate to cut low-level noise if the source allows it (to use a gate successfully requires moments of silence).
Adding noise gates to multiple tracks will result in a much cleaner mix, which may well be beneficial depending on your genre.
5. A Great Arrangement Mixes Itself
Do not be afraid to weed out the arrangement to make a mix work better.
It is easy to throw idea after idea into a song when recording parts. This does not mean every idea is valid and has a place in the final mix.
If you are mixing your own work, listen to your arrangement again with fresh ears. Ask yourself the following questions:
- Do you really need all those tracks?
- Is each mix track adding something special to the song?
- Are some of the tracks clashing and canceling each other out?
Mute tracks to hear what their impact is. Start rearranging your mix with courage. Find and cut any clashing sounds.
Setting your mixer to mono will help, as the stereo separation can fool your ears into not hearing problems. With the best arrangements and quality sources, level balancing and panning alone go a long way.
This mixing tip can be summarized as “keep your arrangement clean and logical to simplify the mix.”
6. LCR Mixing
Limit yourself to three pan settings – left, right, and center.
You will be amazed how many of your favorite recordings have been mixed with this technique known as ‘LRC mixing.’
LCR mixes are wide and professional sounding off the bat. If the mix becomes too open, increase the level of reverb and delay to fill the gaps and connect the instruments.
7. Build a Mix Like a Pyramid
Start building a mix from the drums and foundation upwards. Think of the mix as a pyramid in shape. Again, setting the mixer to mono will help here.
Layer sounds with an increasing degree of level finishing with the vocal on top of the pyramid. As you bring in each new sound, focus your attention not on the new sound but on the previous instrument.
Increase the level of the new sound until you start to hear the previous instrument dull somewhat; at this point, back off the gain a touch, and repeat the process for the next track.
This method helps avoid ‘audio masking’ – the covering up of one instrument with another.
8. Gain Staging your Mix
Use the input and output sections of your channel strip wisely.
These controls can handle 80% of your static-level mixing moves. Make them your first call to alter the channel level as you set up a sound in the mix.
Learn how to gain stage professionally and look out for a red warning light on the channel strip plugin’s output stage. These indicate that there is clipping within the plugin itself.
If a red light does turn on, the solution is to reduce the output gain.
9. Compress Every Track
Analog tape naturally compresses each recorded sound in varying degrees; the amount of compression depends on how loud you are hitting the tape. Adding a little compression to each track will go a long way to adding analog-style control and will make your song easier to mix.
If you are yet to master a compressor, simply set the threshold to -30db, dial in a slow attack and fast release, and set the ratio to zero. Now play the track and move the ratio upward until a maximum gain reduction of -3db is registered on the loudest parts of the signal.
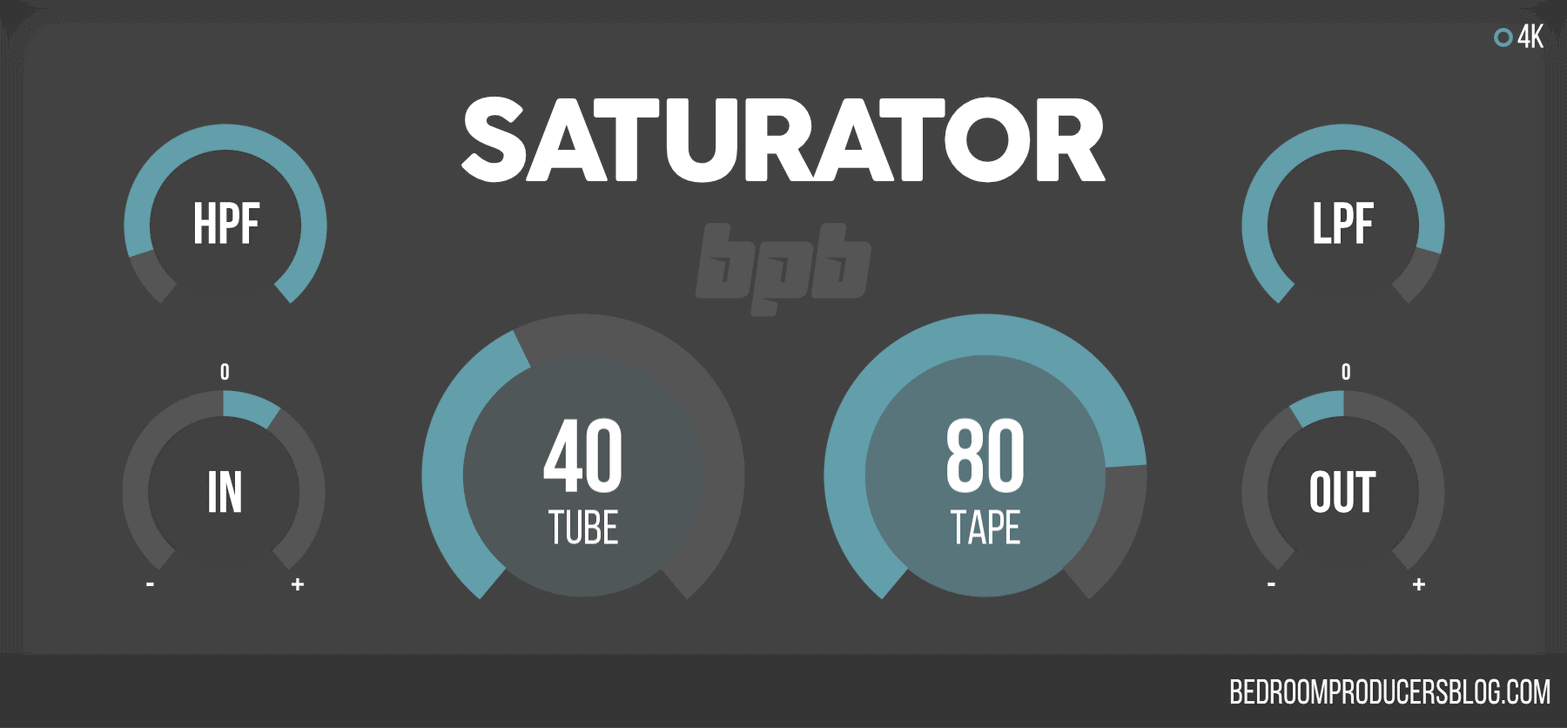
You can also use a tape saturation plugin like BPB Saturator, FerricTDS, or TAIP.
10. Learn to Play Your Mixer Like an Instrument
To become a mix engineer extraordinaire, you must know your mixing tools inside out.
Read your DAW manual many times. Know every knob and every routing possibility, every hidden function and facet, and assign keyboard shortcut controls to the functions you use most.
It will be hard to internalize all the keyboard shortcuts to start with. However, keep practicing, and before you know it, you will be flying around the mixer panel like a pro.
So, the mixing tip here is to select and learn to use your mixing plugins instead of having many similar tools that do the same task.
11. Approach a Mix With a Positive ‘can do’ Attitude
The final, and probably the most important mixing tip – find the right mental attitude. If you think you can mix, you will.
Put yourself in the headspace of a mix engineer. The moment you import your first set of source files to mix, you have become a mix engineer. Wear the hat with pride.
Whenever you sit down to mix, think, ‘I am going to nail this mix.’ Work fast with your personal tastes as a guide – this is your mix, so own it with attitude.
Follow your instinct and create something beautiful – it is what mix engineers do!
If you want to learn more about audio production, please check out my books Audio Mastering in a Project Studio: A Practical Approach for a Professional Sound and Template Mixing and Mastering.
For more information, return to our mixing guide.
Last Updated on April 30, 2023 by Tomislav Zlatic.