A de-esser is an essential tool for mixing vocal recordings. Let’s explore how using a de-esser can fix unwanted sibilance in a vocal.
If you’ve ever recorded or mixed vocals, you’ve probably encountered the sibilance problem. And as we previously discussed, getting a good-sounding vocal is crucial when mixing a song.
What is Sibilance?
Sibilance is those pesky “s” and “sh” sounds that can sound really harsh on playback, especially with compression and other effects. A de-esser can help tame these frequencies and make your vocals sound smoother.
In this quick guide, we’ll show you everything you need to know about how to use a de-esser in your vocal mixing to get a better sound from your vocalist.
What’s De-Essing and How Can It Help You Get Rid of Sibilance?
Sibilance occurs with the human voice when certain consonants, such as S, T, and X, are overly emphasized and too loud. This can make your recording sound harsh or tinny due to the high frequencies being pushed.
A de-esser is specifically designed to attenuate sibilance and the high-frequency sound it creates. De-essers generally come as DAW plugins in various formats, and they work by identifying sibilant frequencies within the track (such as a vocal recording).

Essentially, a de-esser is a compressor as it’ll compress these sibilant sounds, such as ‘Ss’ and ‘Sh’ so that they’re less noticeable in a mix.
The versatility of a de-esser means that you’re not limited to just dealing with vocals either – it can be used on almost any instrument, including guitar or cymbals, or sound effects to ensure maximum control and clarity of your recordings by removing harshness.
How to Set Up and Put a De-esser Plugin in Your DAW?
Setting up one de-esser plugin in a DAW is incredibly easy, and there are a lot of great free de-essers you can start with. Your DAW might already have an in-built one you can try out first.
Just open the FX panel of your vocal track, open the FX browser, and load the de-esser plugin. As for placement, it’s best to place it after any compression or EQ plugins but before delay or reverb. This way, the sibilance won’t create distortion, nor will it show up in the delay trails.
Different de-esser plugins tend to have slightly different controls, but here are the most common controls you’ll likely find:
- Frequency: This lets you adjust the frequency range for sibilance. Usually, it’ll be around 7 – 10 kHz, but it can vary based on the pitch of the vocals. Some also have range control, letting you choose the width of the frequency band, so you can affect a wider or narrower range.
- Threshold: Similar to a compressor, this denotes the level above which the de-esser is activated – any audio below this won’t activate the plugin. Since sibilance tends to be more prominent and loud, you can set this just above the average level of the track. Most plugins offer an indicator to let you know when it’s active, so use that for good reference.
- Gain Reduction: Choose the range of gain reduction you’d like to apply. Somewhere around 3-4 dB generally works well, but use your ears to judge how it sounds in the mix (don’t do this part solo).
- Monitor: Most de-essers have a switch to only monitor the affected part. This lets you zero in on what sounds are being affected, and makes the whole process much easier.
Now since some de-essers may have more advanced controls or slightly different names for such controls, it would be a good idea to go through the plugin’s manual and use them accordingly.
Tips to De-ess to Master the Best Part of the Vocal Track
Using a de-esser isn’t always the easiest. Overdo it, and your vocals might sound too mellow or ‘boxy.’ On the other hand, being too gentle means the sibilance will persist.
Using the right amount of de-essing is especially tricky when mixing bright vocals. You will need to remove unwanted frequencies while preserving the vocal’s naturally bright tone.

Sometimes, vocals can vary a lot throughout the track. So apply some of these tips to get your track de-essed right:
- Automation: Using automation for some of the parameters can be super helpful when sibilance is messy all across the track. You can create individual settings for each part of the track, making sure that they all sound brilliant.
- Combine EQ and Compression: As mentioned, you should place a de-esser after the EQ and compression effects. But you can use these two to make the job easier: mellow out harsh frequencies and compress the overall signal to make the vocal track smoother.
- Experiment with Placement: Sometimes, you should experiment with different placements of the de-esser plugin to see what works best for your mixing workflow.
- Apply Some Manual De-Essing: Using a plugin isn’t the only way to de-ess. Try doing it manually as well. Just zero in on the problematic part of the audio track – you can usually see a spike in the waveform. Highlight the area and manually decrease the gain on it to match the rest of the waves. Together with automatic de-essing, this should get you more natural-sounding results.
Listening to the vocal in context with the rest of your mix is essential when placing the de-esser on a vocal track. You want the de-esser to do just enough work that the sibilance isn’t audible without affecting the rest of the vocal.
Once you’re happy with the sound, slightly reducing the intensity on your de-esser plug-in will often sound more natural without affecting sound quality.
We have a natural tendency to overdo things, and this little trick will help you save your vocals from having a lisp.
How to Know if You’re Overusing a De-esser on Your Vocal
Remember, every mixing decision ultimately matters in the context of the full mix.
So every time you make some changes to the de-esser, listen to it both solo as well as in the mix. If you overdo the processing, you’re likely to hear a boxy track that lacks clarity and punch, and some words and syllables may become inaudible.
In that case, roll it back down, starting with decreasing the gain. If your vocals are getting cut even when there’s no sibilance, move the frequency around and adjust the threshold until it activates only during sibilant portions.
The Best Free De-esser Plugins for Vocal Production
There are many de-esser plugins available for free download. You should use one de-esser as your main tool for removing sibilance and learn all of its features to get the most out of it.
My favorite free de-essing tool is the T-De-Esser Plus by Techivation. It is excellent for removing vocal sibilance and reducing the harshness in instrument recordings. It can also restore the tonal balance of a poor recording.
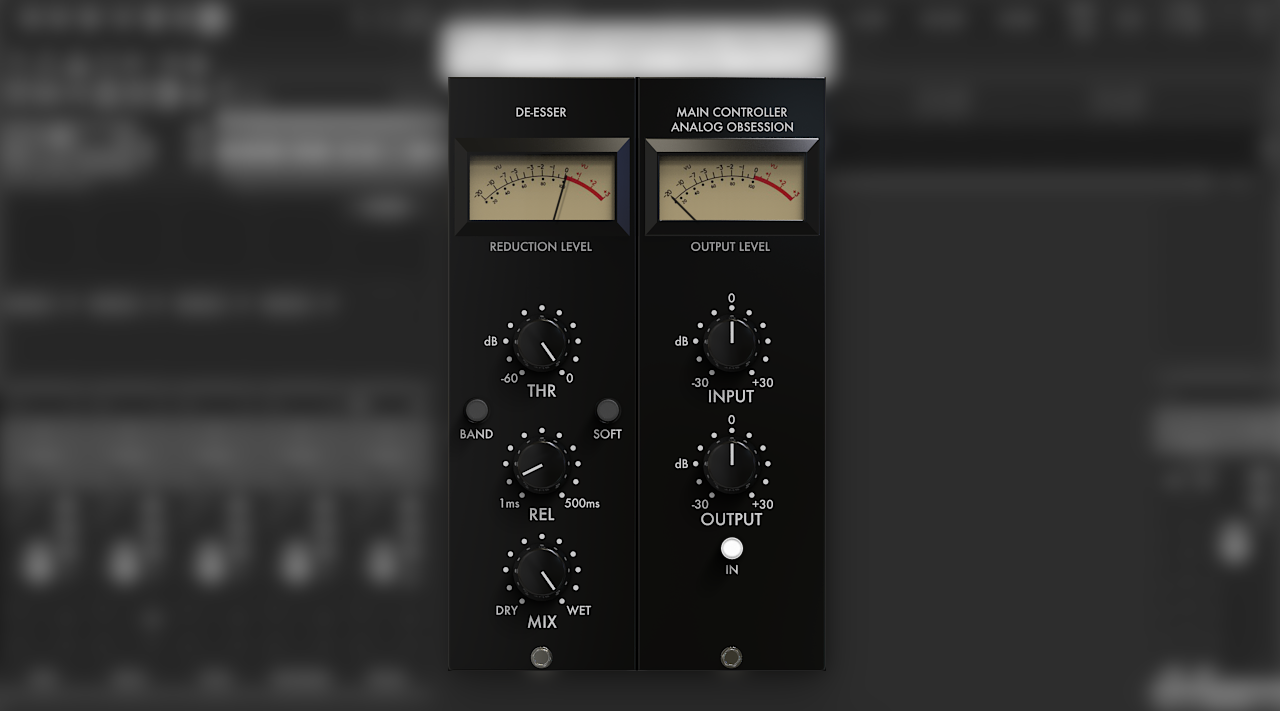
Another de-esser you can download for free is LOADES by Analog Obsession. It is a simple but powerful free de-esser plugin that will help you fix the problematic frequencies and sibilance in your vocal tracks.
Alternatives to Using a De-esser, Including Advanced Settings
Apart from using a de-esser, there are other ways to get rid of harsh sibilance as well. We already talked about manual de-essing above, but here are a few others:
Record Again
If you record your track yourself, try singing it differently – open up your mouth more and enunciate each syllable clearly. You can try placing the microphone a bit off-axis too. This can greatly reduce the amount of sibilance that gets recorded.
Dynamic EQ
Some producers might prefer a dynamic equalizer over a de-esser – you can use it to attenuate certain frequencies dynamically, especially with the help of automation.
Parallel De-Essing
This is a pretty cool technique where you can compress the entire track but send only the sibilance to a separate compressor. This lets you tame only the problematic parts while leaving the rest untouched. You can even try using a de-esser on the Master track.
Multiband Compressor
Multiband compression is somewhat similar to dynamic EQ, but here, you can isolate certain frequencies and attenuate them with greater precision. So you can try this for de-essing as well.
Just keep in mind that too much processing might ruin the quality of your mix, so pay attention to what sounds are being affected and try out different techniques until you find the perfect balance.
Start with conservative settings and remember to take breaks while mixing: all that harsh sibilance can really fatigue your ears. And if you’ve got any of your own de-essing tips, share them down below!
Last Updated on September 27, 2023 by Tomislav Zlatic.


